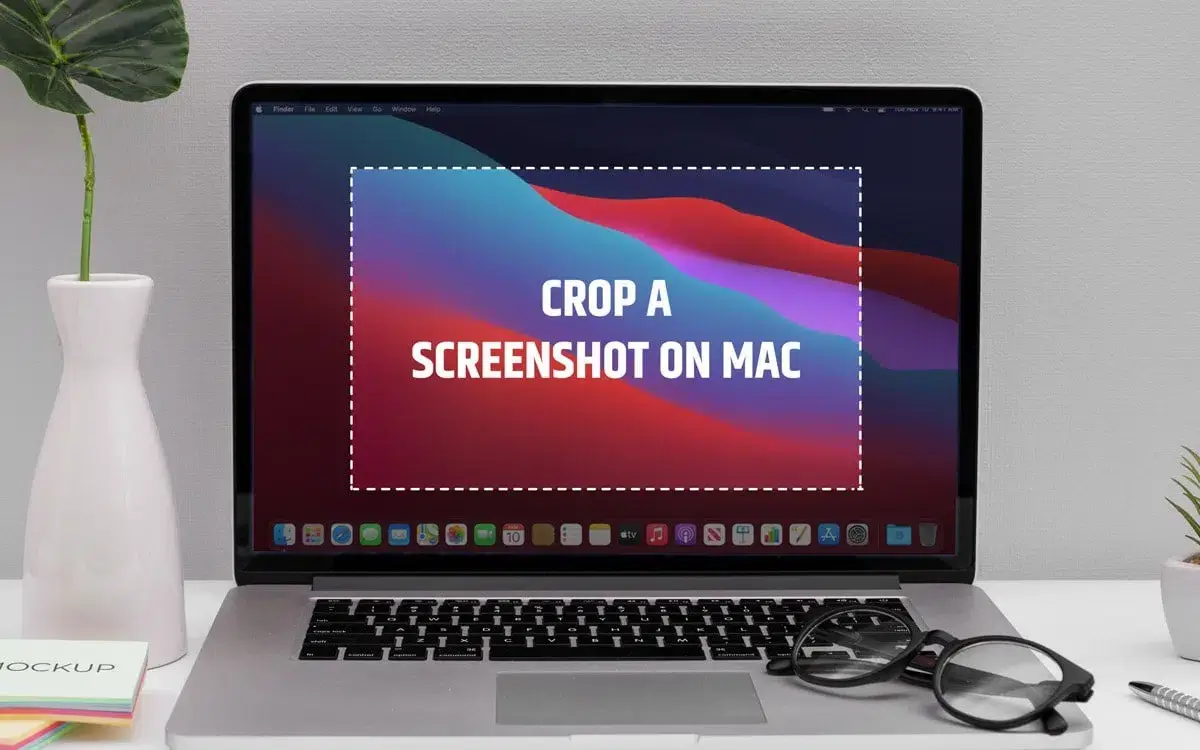
You are taking screenshots to share information with others or keeping it for future reference. However everyone knows the steps to take a screenshot on Mac, but the point is people do not know how to crop that screenshot because after taking a screenshot, you need to crop some unnecessary or critical portions that you do not want to share. If you are the one who is not sure how to crop a screenshot on mac, read this article. We have listed some easy methods and tricks for you.
How to Crop a Screenshot Using the Photos App
To crop a screenshot, the first method is to use the photos app.
- After opening Photos, select File > Import from the menu bar
- Click Import after finding the screenshot you want to edit
- Click ‘Edit’ after doing a double-click on the image you imported
- At the top, click the Crop button
How to Crop a Screenshot by Using Capto
To edit or crop a screenshot, you can use a tool. Cap to is the best tool to help you edit a screenshot quickly.
- Download the app from the browser and open it
- Click Area > Rectangle/Circle/Freehand when the app is opened
- Then, at that point, attract the ideal structure to make screen captures of any sort
- Click the Camera button to take a screenshot of the selected area
How to Crop With the Help of the Preview App
Mac has an inbuilt preview app, which will be on your screen when you double-click the image you want to crop. Now, let’s see the process of cropping a screenshot on mac.
- To open the Preview app, double-click any image
- Select “Show Mark-up Toolbar” from the menu
- You can now select the area of your screenshot with ease
- Click Tools in the menu bar, then select Crop
- Alternatively, you can use Command + K
To Crop a Screenshot by Using a Third-Party App
Snipping app is a simple and the best third-party app you can use to crop a screenshot. Download the Snipping tool from the Mac App Store.
- The first step is to download and install the tool from the Mac App Store
- After the launch of the tool, click on ‘New.’
- Now, select the area of your screen you want to capture
- The screenshot will be saved to your desktop by the tool on its own
These are the steps of taking a screenshot by using this tool, and now you will see how to crop a screenshot via this tool.
- Open the image you want to crop in the Snipping tool
- Now, use the Selection tool for the part of the image you want to keep
- From the toolbar, press the crop button
- A cropped image will be saved on the screen of your desktop
Conclusion
Here are some simple ways to answer your question about cropping a screenshot. You can use any technique that suits you the best.
Average Rating